Leanne Liakos Photography » Blog

We’ve all been there, at some point you will be asked to provide a headshot image for print,web or both. This is a situation where that close up Uncle Bob took of you at the beach last summer will simply not suffice. This image requires you to look your best and must invite people to want to engage with you. If you have never had professional headshots taken and are feeling a little apprehensive about the experience I have a list of tips to help you prepare and get the most out of your shoot.

1.  Preparing For Your Shoot

Once you have chosen a photographer the two of you will discuss what kind of images you need from your session. For instance are you needing a corporate polished look, something creative and unique or something with a casual feel. This will help you and the photographer decide on a location,lighting,clothing and in some cases props. Will you need need images for web,print or both? Do you need headshots only or would you

like full body images too? Your photographer will go over these types of questions with you and will try to put you at ease before your photo shoot.

2.  It’s all about the Face!

Make sure to have a few good nights of sleep prior to your shoot. Also make sure you are getting enough water and moisturize your face area. The night before your shoot do not drink alcohol as it can cause dehydration and/or bloating to the face. MEN, if you don’t normally use a moisturizer the days leading up to your shoot would be a good time to use a little and also some chapstick on the lips to prevent dryness or cracking particularly in the winter months. If you need a haircut have it done a week before your shoot so it can “settle in” a bit. WOMEN, I highly recommend having professional hair and make up done before your shoot, it really makes a huge difference. If you are applying your own make up keep in mind mascara,lipstick and blush are key and bring them along to the shoot in case you need a touch up. Also, avoid any sparkly or shimmery make up.

3.  Jewellery

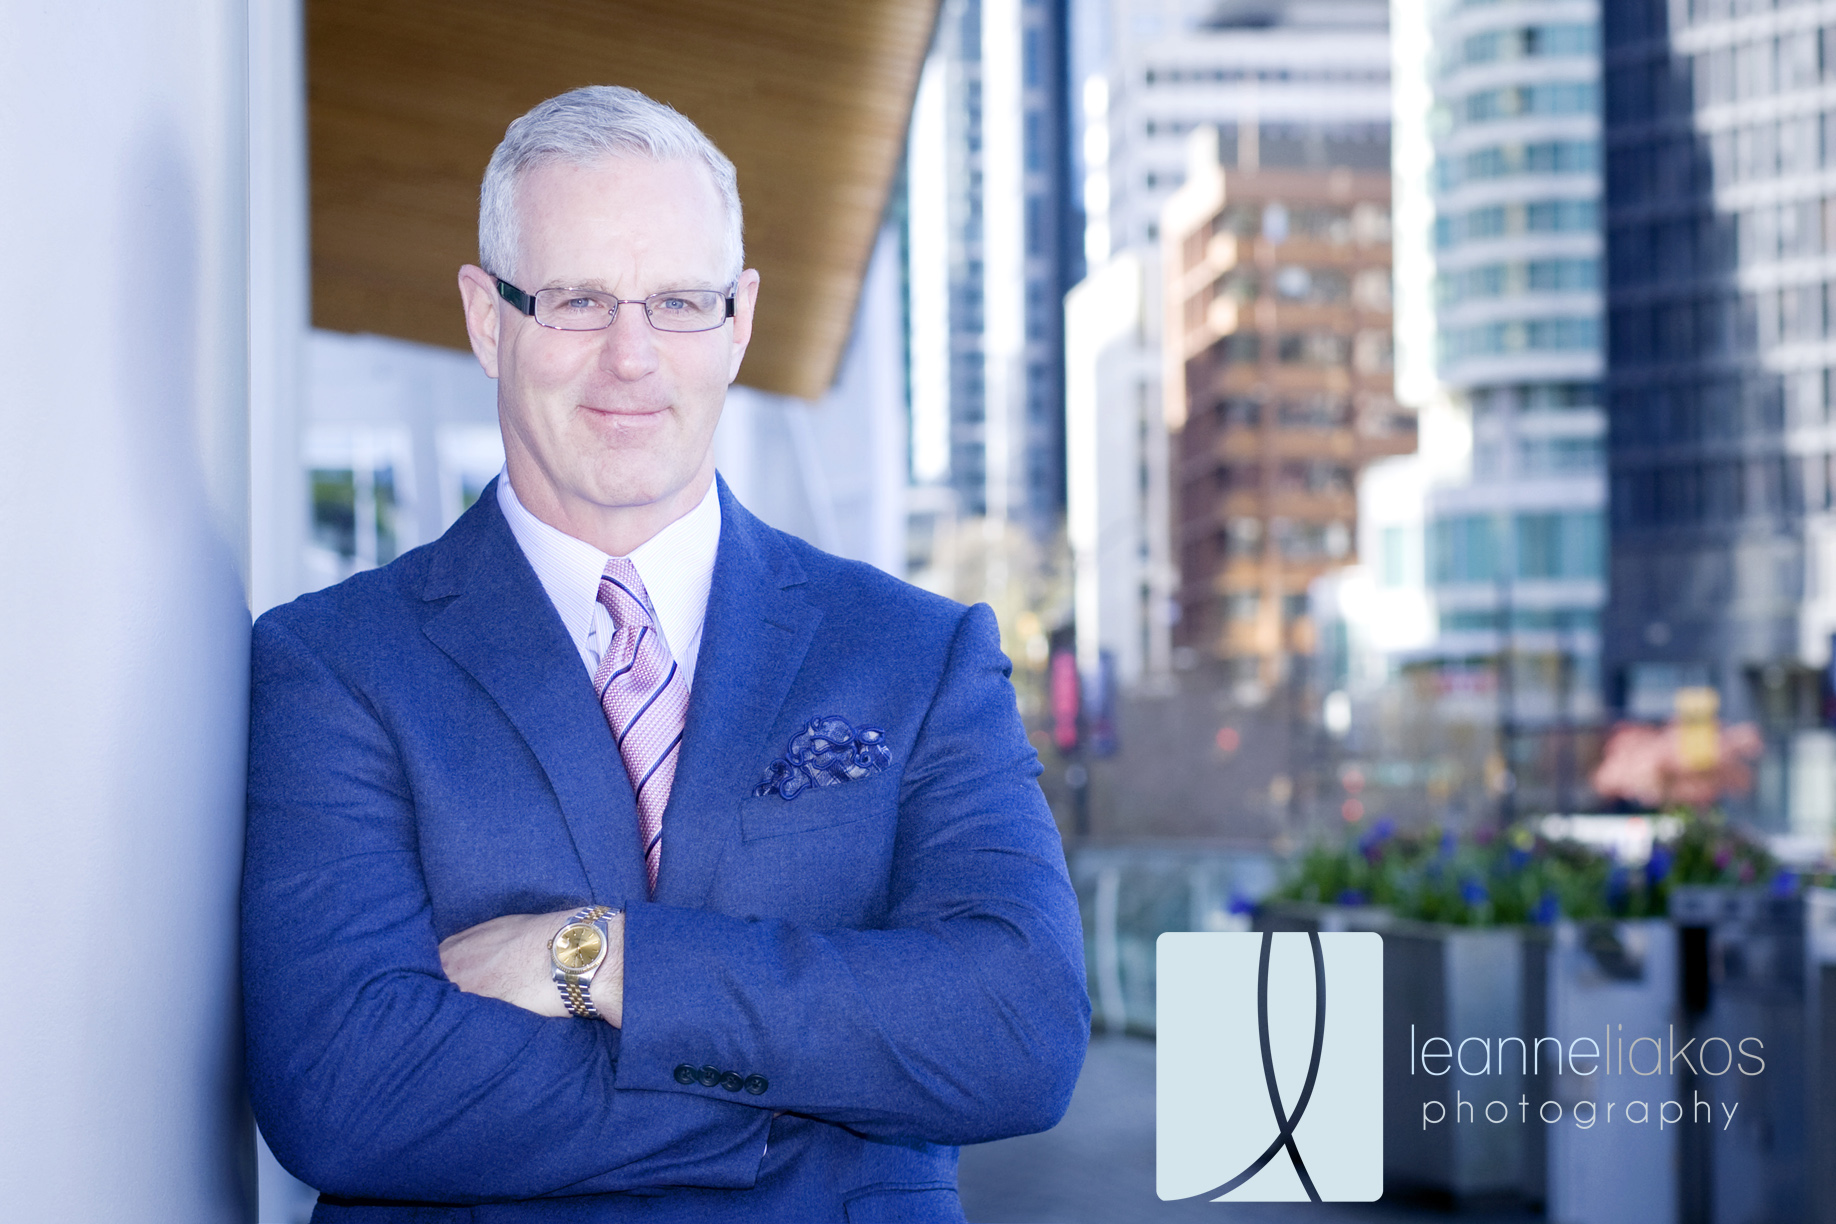
MEN, please do not wear a wrist watch or bracelets to your shoot unless it is a creative shoot (for example you are a musician, artist or jewellery designer:))

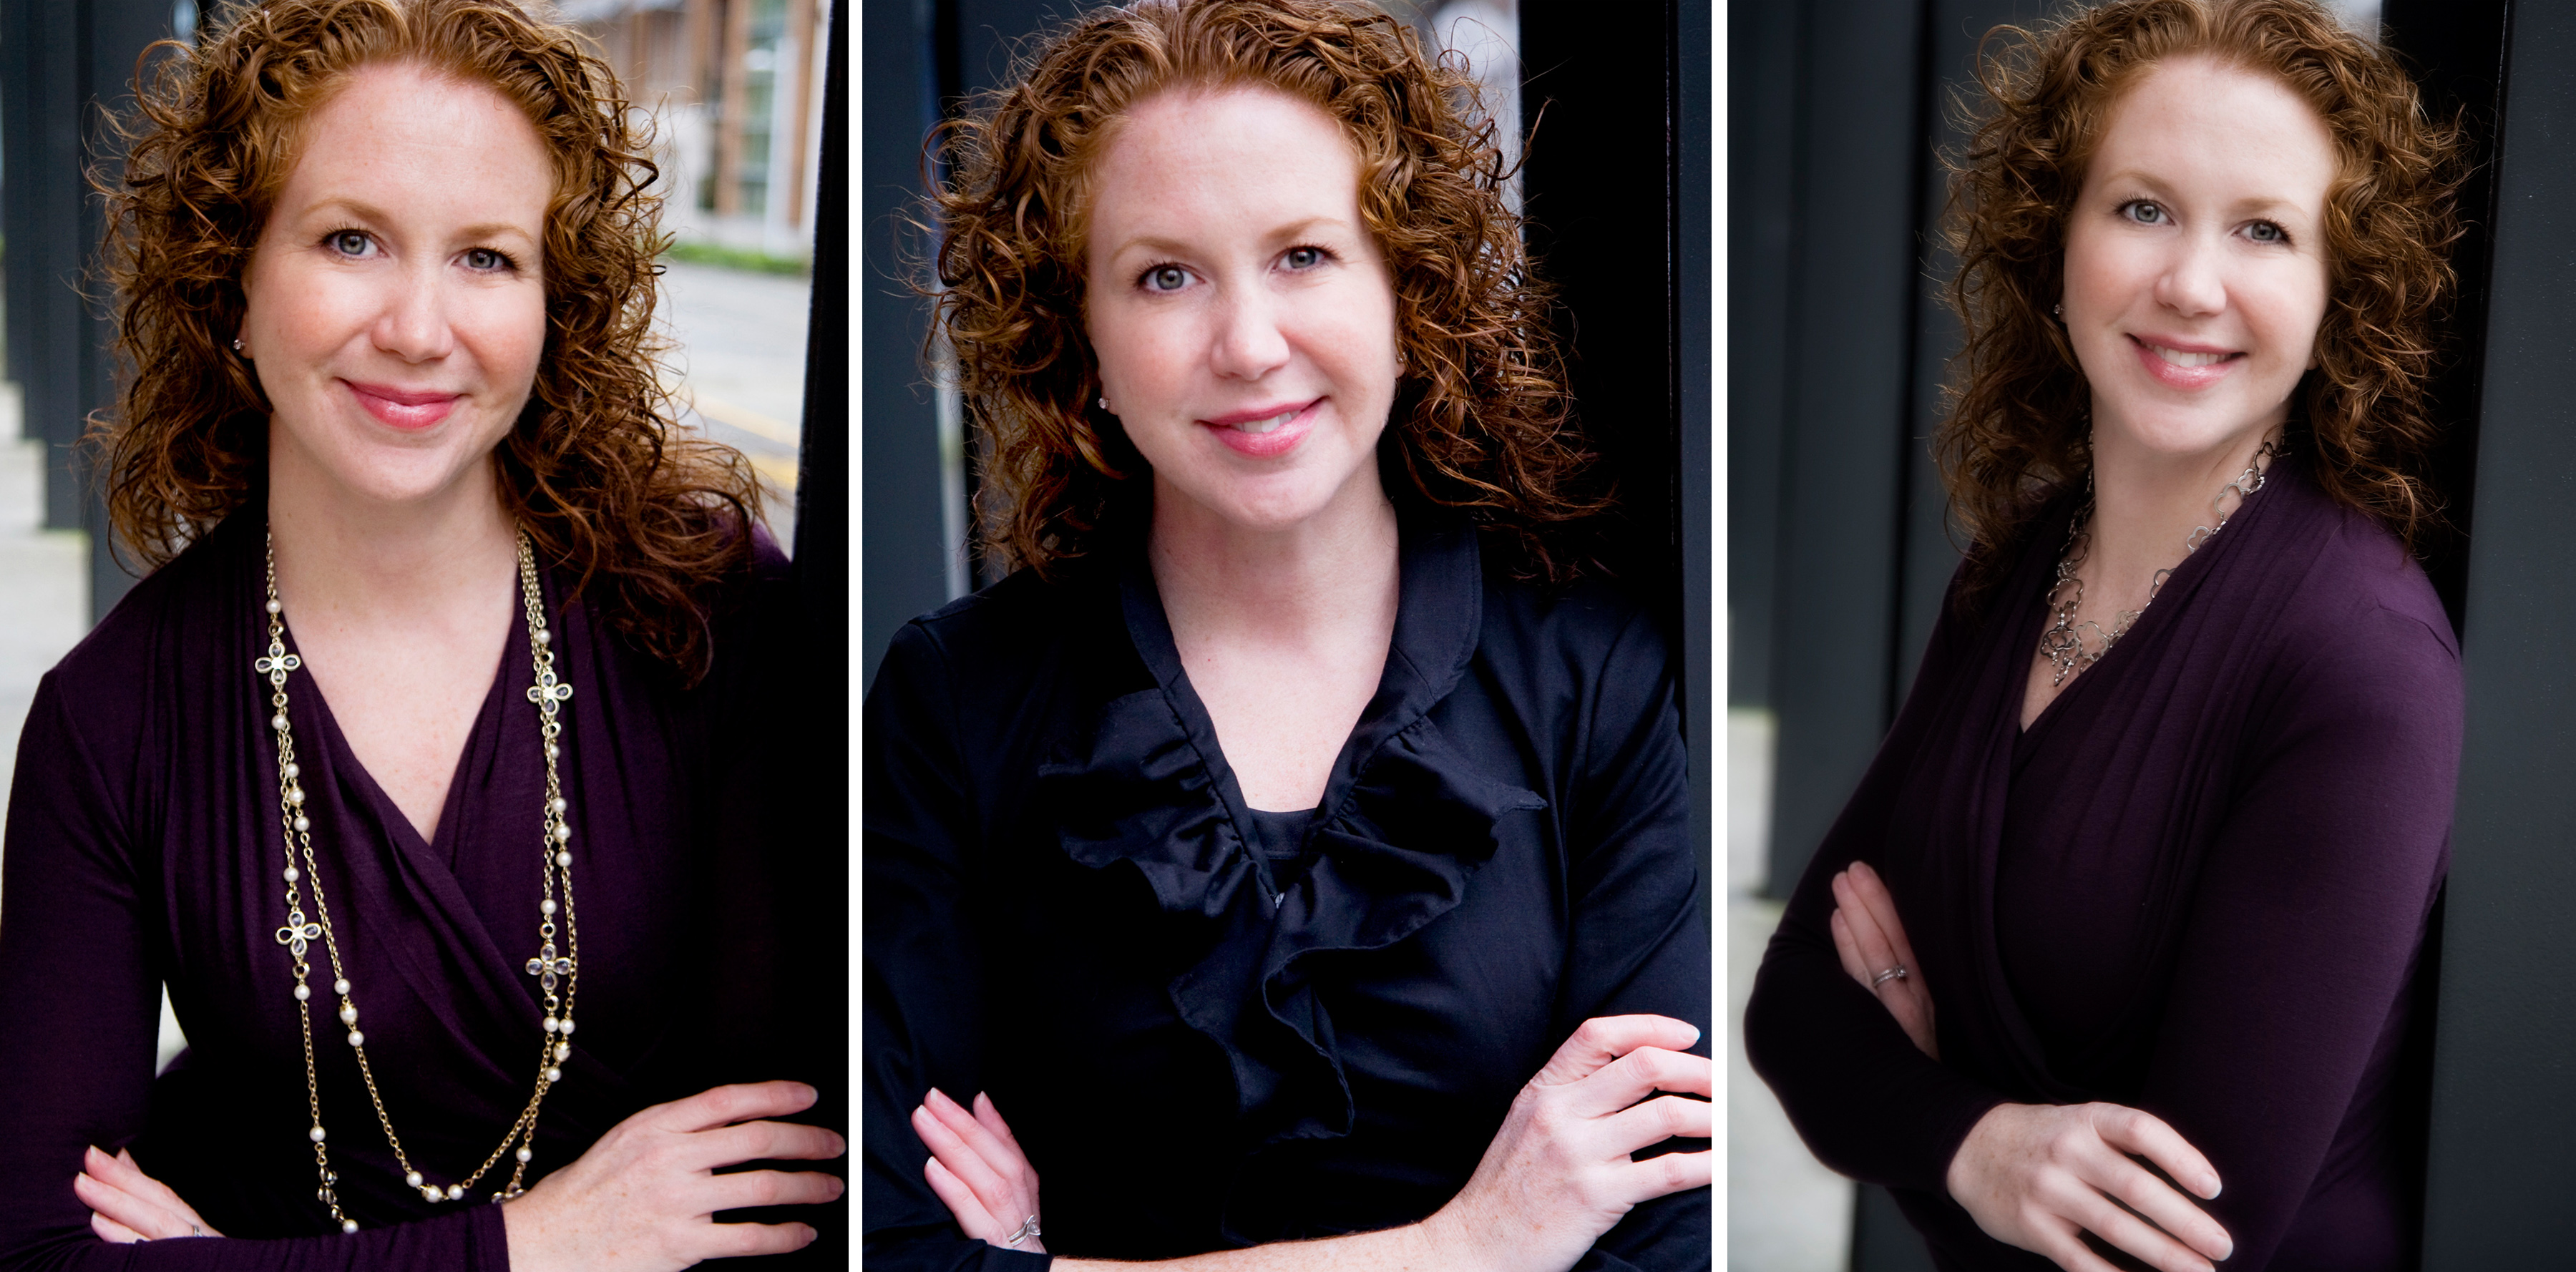
WOMEN, same as with the men, please do not wear a wrist watch or bangles. I recommend bringing a few different necklaces to try, some may be used and some images may have no jewellery. In my case when photographing a “Branding Session” I may ask you to bring a variety of pieces depending on your personal style. For creatives we can be more experimental but still do not want to distract from the face too much. For corporate images less is more,maybe a simple strand of pearls to frame the face or one bold statement piece.

4.  Lighting

Whether your session is outdoors, on location or in a studio lighting is crucial.Particularly outdoors your photographer may place you in a spot that you may find odd but trust that they are seeing something with the light that will make you look amazing. Most photographers will chat with you during the process to let you know why you’re in that little alcove  rather than in the beautiful sunlight so you will feel comfortable with the locations. When shooting on location or outdoors an assistant will often be present. The assistant may hold a white reflector to one side of you or sometimes a small softbox. Try not to feel anxious about this, remember this is making you look your best and puts a great sparkle in your eyes.

5.  Communicate

Try to relax and have fun with it and if you have some ideas share them with your photographer. If you have seen something you really liked let them know, it might work for your session too. As your session moves along your photographer may ask you to move your chin or shoulders a certain way or to shift your weight from one leg or the other. Sometimes these poses may feel a little awkward but please be assured they are placing you in the perfect angle to make you look your best. If you have questions or concerns don’t be afraid to speak up and ask. Keeping communication open will help you both get the most out of your session and you will find yourself with some fantastic images.

Leanne Liakos Photography offers two types of headshot sessions in Vancouver,B.C. For more information contact me here: CONTACT

leanne liakos photography headshots

Leanne Liakos Phootgraphy

001v_ copy

Classical musicians

Leanne Liakos Photography

118_ copy


FacebookTwitter

The fall colour was spectacular this season and we shot all over the city enjoying every minute of it. One of my favourite spots this year was Stanley Park. Here’s a preview of a late October session in the park with this gorgeous family of five, or should I say six if we include their lovable rescue dog, Luna. If you would like information on having a portrait session with your family click here and we can talk about all the fun details!

family portraits in Vancouver b.C., family things to do in Vancouver,B.C 2019
Vancouver portrait photographers
outdoor portraits in Vacnouver, B.C.
FacebookTwitter

So, you’re a rock star parent, you have organized the family, planned wardrobes, styled hair and had your portrait session photographed! Now you are at the point of choosing how you would love to display your new portrait art in your home. The first step is deciding which images are grabbing your heart and you know you have to have them on your walls and what type of mounting options suit your style. I will be happy to suggest combinations of images and sizes that I think complement one another and tell the story of your family. Read on for some gorgeous wall gallery inspiration and tips on how to create them.

Images via: Curated Interior and Pink Peonies Blog

Framed prints are both sleek and timeless. A few places to pick up gorgeous ready made gallery frames are West Elm, Indigo, Pottery Barn, Michaels and Ikea. Click on the store name to see the  selections they offer. Ikea also now offers templates for wall galleries using their frames check here. When creating your gallery wall you can stick to including only your new portraits or combine them with favorite travel,graphic or calligraphy prints for a contemporary and unique collection. To see some samples  click here.

A common mistake people make when ordering or having prints made is going too small. For great impact the difference between a “photo” and a piece of art can be scale. Don’t fall into the trap of 8×10 prints, go for it- frame a stunning  16×20 or 24×36 print of your children, you won’t regret it! Or mix a couple of large portraits  with smaller prints of art or historical family photos.


Planning and Hanging

Planning

1)Measure the space of wall you want to fill.

2) Decide what size frames will fill the space nicely, optionally you could cut kraft paper squares in the size you think you want your frames and tape them to the wall with painter’s tape to see if that size is filling the space well. Often people find they want to go to a bit larger frame size.

3)Decide whether you would like all your frames the same size or go for a variety of sizes. Same goes for whether you want all the same colour frames or a mix. I recommend keeping the frames all the same if you are going for a look with frames all the same size, for a more eclectic look a variety works nicely.

4)Decide which of your photos you want to print and which size suits each print-for example which ones you want big, which ones suit a smaller frame and whether you want all portraits or a mix of portraits with other art or photographs.

Hanging-Tools

You will need:

1)kraft paper

2)painters tape

3) pencil,scissors and level

4) hammer and nails

Hanging the Wall

– First a note about height

A good guideline is to have the center of your largest frame 57-60 inches up front he floor. This is the standard height for hanging art, then you can work around that piece. If you are hanging two medium size pieces above one another the space in-between them should be at 57-60inches. See Photo examples below.

image credit:Hellofashionblog

Image:Em Hendersen

Image Via-Apartment Therapy

About Spacing

Aim for 2-3 inches between frames, if hanging above a sofa or table aim for 6-8 inches of space between the top of the sofa/table and the bottom of your frame.

Get Started

1) Lay out all of your frames on top of Kraft paper, use a pencil to trace to the frame onto the paper and then cut out the shape.

2) For frames with a wire: pull the wire taught as it would be hanging from a nail-measure the length from the center of the wire to the top of the frame. For example if this length is 2 inches, make a dot with your pencil in the center of your paper two inches down from the top center- this is where your nail will go. These measurements need to be as exact as possible. Continue this process with all of your frames and cutouts. For frames with a claw tooth hanger an alternative to this method is to measure once your paper cutouts are already on your wall-then you add small dab of white toothpaste to the center of the claw tooth and then place your frame flush over your cut out on the wall-pull the frame back from the wall and the toothpaste will have made a mark on your cutout where the nail needs to go.

3) Next using the height guidelines start taping your cutouts to the wall in the style you have chosen. Use painters tape to attach them as it will not damage your walls.

Image Credit:Momtasticblog

4) Hammer in your nails where you made the dots on your cut outs in step 2.

5) remove the  paper from one spot and hang your first frame. Continue until all of your frames are on the wall.

6)Place your level on top of each frame to make sure it’s straight. Make any adjustments. For sawtooth hangers if your nail is not resting on the middle groove your frame may look a bit off-it you notice this simply adjust it to the center groove.

YAY!  You’ve hung a fabulous new gallery wall!!


Image Credits 1) Hellofashionblog.com 2)Pinterest 3)Pinterest 4)PinkPeoniesBlog


Now, watch these fantastic videos with step by step tips for making your perfect gallery wall!

*For the example in video #2 those awesome hanging tools can be found at home depot!


FacebookTwitter

This fall I discovered some great locations that I hadn’t used before. One of them was Ambelside in West Vancouver. I have photographed a few sessions there before but this year I got to know the area so much better. You know how it is when you find a new spot that’s perfect a good long walk with a latte in hand. As you walk you notice unique trees, hidden little gardens and beautiful patches of driftwood settled in lush, breezy beach grasses. Those are the kind of finds that get me excited to visit with my families when we go out for our shoots.I photographed these cousins with their Grandmother on the beach at the end of fall, I love how the grasses gave us some late fall colour and texture. Wasn’t this fall so colourful? Did you find any new spots that were so nice you can’t wait to share with us? Let me know in the comments, I can’t wait to check them out!

XO,Leanne

Vancouver portrait photographers


Vancouver family portraits, outdoor portraits Vancouver


FacebookTwitter

Wasn’t it one of the most colourful fall seasons in memory  here in Vancouver? Everywhere you were you would find yourself in awe of how beautiful our city is. I met many new families this year and found some great new location for family portraits here in Vancouver. One of those spots were in  Yaletown, where David Lam Park and George Wainborn Park were so beautiful you could spend the entire day enjoying the views. Here’s a preview of one of those sessions. If you are interested in knowing more about process of preparing for booking your portrait session feel free to shoot my a line here.

XO, LEANNE


richmond,b.c. ,family photos in vancouver,b.c.

Vancouver photographer , portraits, lifestyle, headshots, travel

B.C.

vancouver natural light photographer, families, lifestyle, travel, headshots

FacebookTwitter
F a c e b o o k